 Miguel Escobar Published November 26, 2018
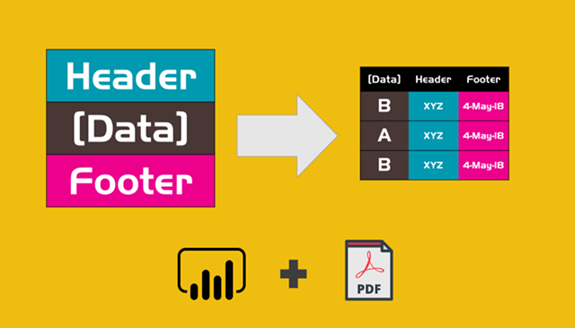
Have you ever had a similar situation where a REALLY important value of the file is in either a header or a footer section? Let me give you a clear example with the following file:

In the image above you’ll see that we have 2 values in the header section right under the logo of my company. Now, this is a PDF file, so we’ll connect to that PDF file, get the data underneath those header values (which is basically a table) and then create a new column specifically for the value of the Sales Group. You can imagine that I have a bunch of PDF files in a folder and each of those PDF files is for a specific Sales Group, so I need to have that value as a new column.
My Final table should look like the following:

Using the new Power BI PDF file Connector (in preview)
A few months ago the Power BI team released a new connector which is still in preview. This connector allows you to extract data directly from a PDF file.
How do I enable it? You can download the latest version of Power BI Desktop, go to settings –> Preview Features:

You’ll need to restart your Power BI Desktop for changes to take effect, but once you do that you’ll see the PDF connector listed in the ‘Get Data’ window:

Connecting to our sample PDF File
Let’s go ahead and click on that PDF connector and then you’ll get prompted to input the filepath of the file. Instead of choosing a local file, just use the following url:
https://thepoweruser.com/wp-content/uploads/2018/11/Report.pdf

Hit Open and then you’ll be able to see the Navigator window with 2 elements:
- A table object
- A page

You’ll see that Power Query (or Power BI) automatically enumerates the elements that it finds.
Note: some PDF files might seem like they are properly formatted, but in reality they are just images embedded into a PDF. Images can not be interpreted by this connector.
Getting the Data in a Table
Power Query / Power BI is smart enough to distinguish when data might be formatted as a Table, so we can go ahead and connect to the first and only table listed for that file:

hit Edit so we can go to the Power Query Editor and prepare our data.
Once inside the Power Query Editor, let’s go ahead an do:
- Remove the Column5 that has the dollar signs ($)
- A fill down on the SalesPerson column

- Change the data type of the Date column to a proper Date data type

- Remove any errors created by the previous step

This last one is even easier to do and to distinguish or find that in previous versions of Power Query thanks to the Column Profiler (the cool chart under the columnheader) and Column Quality (the cool legend that tells you how many are valid, error or empty in that column preview).
Once everything is done, your table should be looking like this:

I highly recommend that you change the name of this Query to “Data”, just so we can all be on the same page ![]()
Extracting Values from the Header (or Footer) of a file
Ok – cool. We have the main data in the query “Data”, but we still need to know the “Sales Group” of that report, and we want to place that value as a new column for the “Data” Query.
How do we do that? we connect to the page of the file.

OK – we know where that value is, but how do we get to THAT exact “cell” or “position”?
We should ask ourselves a question: will this be fixed position? or can this change?
Ok – maybe that’s more than one, but you get the idea. You’ll create a set of steps that will always yield that specific cell or “position” by, for example, filtering by the Column3 to get the cell where the value is equals to “Sales Group:”, BUT in this case we’ll say that this is a fixed position and that it’ll always be in that specific position.
For that, all we need to do is use the magic of the Right-click to display an option called “Drill Down”:

What “Drill Down” does is that it’ll create a new step in that query that will simply have the value from that specific cell or “position”.
The output should look like the following:

Change the name of your query to match the one on the image above (Header) and let’s move on to the next step.
Adding the Extracted Header Value to the Data
Let’s go back to the “Data” query, click on the “Add Column” menu and click on the “Add a Custom Column” button. Once that pops up, go ahead and enter the following formula:

You’re basically just creating a new column that will have the value from that other Query (which is simply a text value). The output looks like this:

And that’s it!!! You just made it happen. Of course, this process could potentially happen in the same query and you can apply the same technique for values or data that could be in any place of the document – not just the header or the footer.
Below you’ll find a video showcasing the same technique:
Click in the button below to download the sample file:


Great Article, thanks for sharing Word to PDF
Genial! Miguel, excelente esta nueva funcionalidad de power bi, perfecto para el analiss de documentos, lastima que no reconozca cuando es una imagen, seria genial que tuviera esta opción. sls
Hi,
What if I have multiple files that I need to combine and from each I need to pull the date from header? (each month there will be a new file)
Any help appriciated
You would need to convert your operations into a function and use a concept similar to the one displayed here:
https://www.thepoweruser.com/2019/02/26/parameters-and-functions-in-power-bi-power-query-combine-files/