 Miguel Escobar Published April 30, 2019
This is going to be the last post series in the series on Combine or Append Data.
In the first post we saw the basics of how to do the Append operation through the UI.
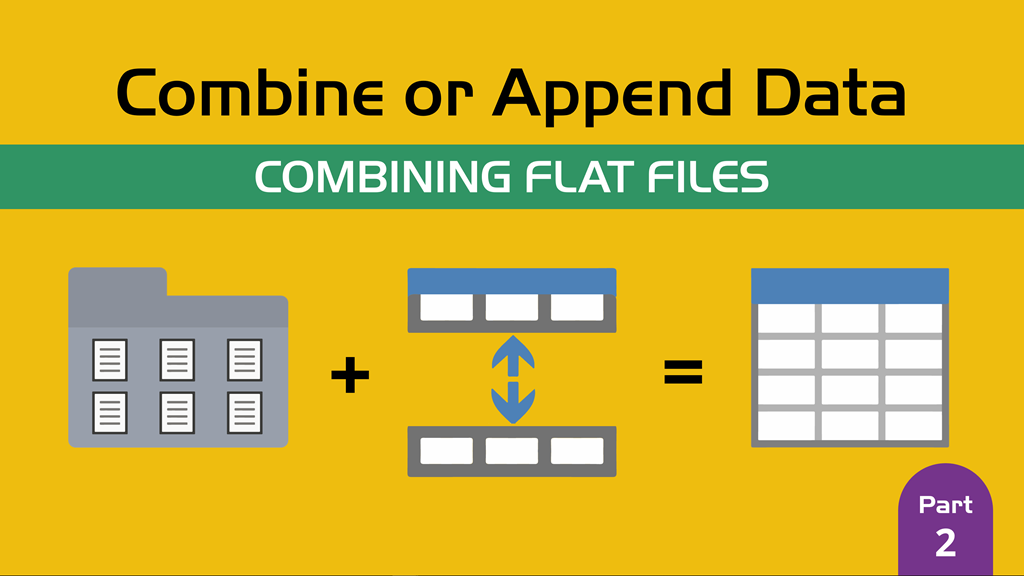
In the second post we saw the Combine Files experience with Flat Files and how easy it is to combine as many files as you want.
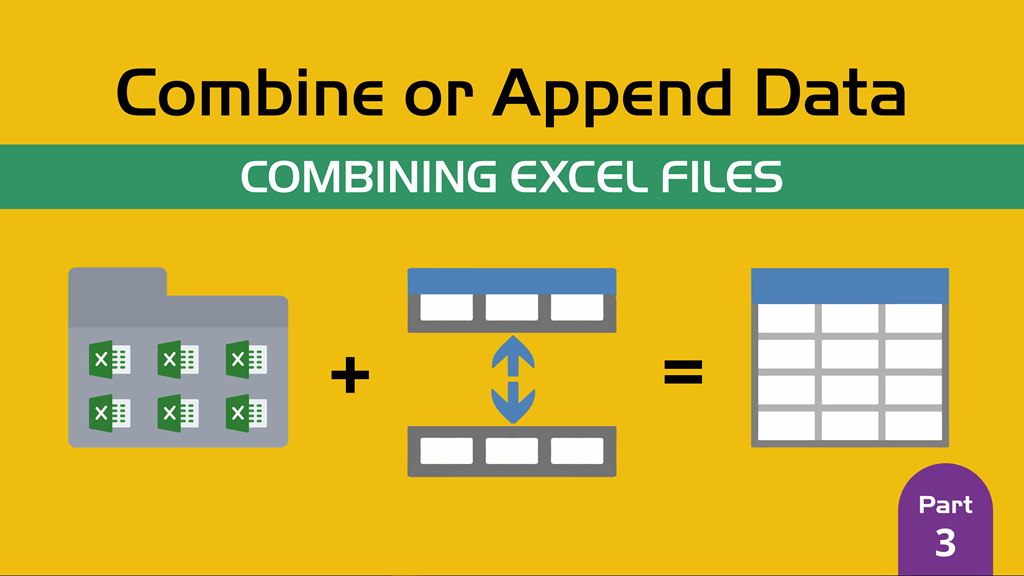
In the third post we had a contrast of the Combine Files experience using Excel Workbooks instead of simple flat files and what things we needed to consider this time that we didn’t consider with simple flat files.
In this fourth and last post we’ll be going back to the basics using the function that we discovered in the first post – Table.Combine which is the most optimal function for combining / appending data.
Why this approach?
Don’t get me wrong, the other approaches are completely valid, but in some cases they might add some overhead to the whole process which is unnecessary.
I’m talking specifically about the Combine Files experience which does improve the end-user experience by adding some overhead, but if your goal is to improve performance, then you could potentially make a compromise on that end-user experience to optimize your query and make it run up to 500% faster.
No – I’m not saying that we should use exactly the same approach that we did on the first post in this series.
That would be too time consuming and it simply won’t scale, but what about a combination of that Append approach and the Combine Files?
This is more for advanced users rather than your average Power Query user, but it does have a huge impact if your goal is to improve performance and this is usually what I personally do when I get hired to optimize queries from my clients.
The Setup
I’ll be using the same dataset that we used in the 2nd post for the Combine Files using multiple flat files from a series of folders.
The end goal is to use a function called Table.Combine to combine all of the files instead of using the normal Combine Files approach which uses a function called Table.ExpandTableColumn.
So, how does the Table.Combine function work? Good question! This function requires a List of Tables so it can append all of those tables into just one big table.
You can learn more about what lists, tables and other structured values are inside of Power Query and the M language from here.
Let me show you how this new pattern would look like, but please take in consideration that the end goal is the same every time, but the journey to it might be different depending on where you’re starting at and what “checkpoints” you need to make.
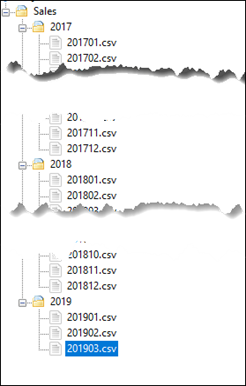
Step 1: Connecting to the Folder
Similar to what we’ve seen before, we’ll be just connecting to the folder:
You can download the files that I’m using by clicking on the button below:
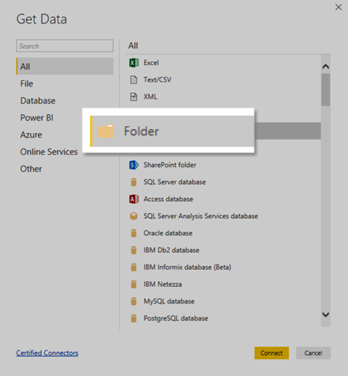
Just connect to the folder where your data is being stored and you’ll get this window:
We now click the Edit button and head over to the Power Query Editor. Remember, we’re taking the same assumptions and notes that we did in the previous post (post 2).
Up until now, we’re basically doing exactly the same that we’ve done before, but things are about to change now:
Step 2: Buffering the Binaries
Since we’re working with files, is usually a good idea to buffer them (save them in memory) so it’s easier / faster for us to read the files and combine faster and for that, I’ll be deleting all of the columns except the Content column and then I’ll right click that column to do a drill down operation:

This operation that I’m doing will transform this column into a list. You can learn more about this process and the whole Navigation approach from this article.
After that, I’ll go to the formula bar and simply edit that so I can modify the formula to be like this:
= List.Transform ( #”Removed Other Columns”[Content], Binary.Buffer)

In essence, I’ve applied a function to each row in that list. That function is called Binary.Buffer and it does the caching of the file itself so things should run faster.
Step 3: Create a Custom Function
You’ve probably heard me saying the words “recipe” and “custom function” interchangeably as the whole idea of a custom function is that you’re creating a recipe on how to “cook” your data with some “ingredients” (parameters) as the input.
In this case we’re going to be creating our own custom function which would look like this:
(myFile as binary) => Table.PromoteHeaders( Csv.Document(myFile, [Encoding=1252]) )

I highly recommend that you read my series on Parameters on Functions (here) to find out more on how a custom function could be created.
The only thing that this function does is interpret the binary as a CSV file (using the Csv.Document function) and then promoting the values from the first row of that file to be the column headers.
Step 4: Invoking the Custom Function
Now with your custom function created, you can now invoke that function against our primary query where we buffered the binaries.
You’ll end up creating a custom step (by clicking the fx button on the formula bar) and then adding this piece of code:
= List.Transform( Content, fxRead)

and you’ll notice that now the list has Table values instead of Binaries.
Now we end up with a list of tables, which is exactly what the Table.Combine function needs and that’s the function that we’re going to use now:
Step 5: Using the Table.Combine function
Similar to what we did in the previous step, we need to create a custom step and now we’ll wrap the formula around the Table.Combine function and voilá:

All of the data is now combined in just 1 table and you can see how clean and straightforward this approach is.
I highly encourage you to test this approach against the Combine Files experience so you can time the difference specifically for you. It is really significant when you’re dealing with large volumes of data.
Here’s what the final code looks like:
let
Source = Folder.Files(“D:\Sales”),
#”Removed Other Columns” = Table.SelectColumns(Source,{“Content”}),
Content = List.Transform ( #”Removed Other Columns”[Content], Binary.Buffer),
Custom1 = List.Transform( Content, fxRead),
Custom2 = Table.Combine( Custom1 )
in
Custom2

Final words
I focused on using files from a folder, but this approach also works with any other data source. tables from a database, tables from a web service or any other data source of your choice. The end goal is to create a list of Tables using the method that you see fit and then use the Table.Combine function.
Share your stories with me! Have you tried optimizing your Combine Files query? how fast is it going now with this new approach?


This was an inspiring post. I figured out a way to reuse this pattern when dealing which multiple SharePoint lists all having the same structure replacing Binary.Buffer with Table.Buffer ????
Content = List.Transform ( #”Removed Other Columns”[Content], Table.Buffer),
Hey Claus,
I’m trying to do what you did.
Did you use the fxRead function as well?
Cheers.
Nevermind, i understood now, and i managed to make it work 🙂
Thank you and special thanks to Miguel for this approach.
Cheers.
Hi Miguel, I do combine a lot of identical table objects from different xlsx files, the issue I face is performance…It take ages in my case when append the 60 files…Any proposal to get improve performance when combining tables object that are in xlsx files stored in the same SharePoint Library? (I saw your technique above works fine by creating a function to “transform” then combine csv files using buffer for improving performance).
Hi Miguel,
is there a way to write the function inside the same code for dataflow copy?
That code should work without any issues inside dataflow. Did you encounter any issues ?
The code is fine. I just want to know if there is a way to combine the function query and the CSV import query together under one M code.
Yes – you should be able to minify the code and have it all in just one query. It does require some manual approach where you need to use the advanced editor, but it’s possible
Can you please provide me the syntax as for this example?
I’m more familiar with DAX and less with complex M code.
I hope when you release the book at July I will upgrade my skill at M 🙂
Hopefully at a later date! I do have some blog posts for July on dataflows that will cover how to minify the code.
Hi Miguel,
is there a way to keep the fila name column using this technique?
there are many ways that you could accomplish that. All, in essence, would be the same.
You’d need to put all of the values in a single table.
That’s the beauty of the M language and how nested tables can work as well.
This is one way:
https://www.youtube.com/watch?v=omu-sjzNO44
Hi Miquel
In “Step 2: Buffering the Binaries” you “drill drown” the “Content” column, this will keep only the ‘Content” column left.
But your video is about adding columns to “a-table-in-a-table”.
How can you keep or adding the filename after “drill down” the “binary” column?
That is correct. You need to add a new column to your table – that would be a new file name column to your table. you need to transform your binary into a table and then to that table add a file name column.
I already tried to add a custom column to the table, after transform the binary list to a table. This will give ne add a column with a list of my filenames for each record. And not a single filename for each record.
Could you please guide me to only have one filename per record?
you need to add the new column before down the drill down. As a step by step process, you first transform your binary into the final table that you want to combine. Then you add the filename to that table and finally you do the drill down over that column of tables. I highly encourage you to take a closer look at the video and the concept behind that row context.
I can’t figure out how to do it.
I did in this way but have to skip your function “fxRead”
let
Source = Folder.Files(“\\thban1srv330\company$\Internal Export\XPO”),
FilteredAX_Rows = Table.SelectRows(Source, each Text.StartsWith([Name], “ax”)),
FilteredHiddenFiles = Table.SelectRows(FilteredAX_Rows, each [Attributes]?[Hidden]? true),
TransFormContentToTable = Table.AddColumn(FilteredHiddenFiles, “Custom”, each Csv.Document([Content])),
AddFileNameToTable = Table.AddColumn(TransFormContentToTable, “Custom.1”, each Table.AddColumn([Custom], “File Name”, (R)=> [Name])),
RemoveContentCol = Table.SelectColumns(AddFileNameToTable,{“Content”, “Custom.1”}),
BufferedTable = List.Transform ( RemoveContentCol[Custom.1], Table.Buffer),
TableCombine = Table.Combine(BufferedTable)
in
TableCombine
I’d highly encourage you to post your full scenario on the official Power Query forum:
https://social.technet.microsoft.com/Forums/en-US/home?forum=powerquery
It’s 3:30am where I’m at and I’m replying from my phone, but looking at your step that adds the file name column, it appears to be correct
Hey Miguel,
Is this approach still good if we fetch the files with Web.Contents or is it just for files?
I’m afraid my all my requests are being buffered and it is taking a lot of extra time.
Cheers.
It depends on a number of factors, but usually with web.contents you don’t want to buffer unless you reference that into another query
Got it.
Thank you for always answering!
Hey Miguel,
When I’m trying to put the fnCSV_Read and the Combine process together in one code (Query), it works on the PowerBI desktop version but getting error on the service via dataflow (New Entity). why is that happening and how can i fix it?
let
fnCSV_Read = (MyFile as binary) =>
Table.PromoteHeaders(Csv.Document(MyFile, [Delimiter=”,”, Columns=4, Encoding=1255, QuoteStyle=QuoteStyle.None]))
in
let
Source = Folder.Files(“C:\Users\Matan\Desktop\Sales”),
#”Removed Other Columns” = Table.SelectColumns(Source,{“Content”}),
Content = List.Transform(#”Removed Other Columns”[Content],Binary.Buffer),
Custom1 = List.Transform(Content,fnCSV_Read),
Custom2 = Table.Combine(Custom1)
in
Custom2
Hey!
Have you contacted Microsoft about the error ? That would be the best way to go!
Also, if the error gives you some sort of message or code, I’d highly encourage you to read it or try searching online for other folks that might have experienced the issue. I wouldn’t be able to tell you what could be going wrong as I haven’t tested your code or seen your errors.
The best place to ask questions about dataflows is usually the power BI community forum, but the power query help forum could also work.
HTH!
Hi Miguel, Thank for the great post, I am just wondering, how do I include some of the files attribute to the actual table. e.g if I need the date time stamp of the files creation as a column of my table?
There’s a couple of ways! It depends on how you’re trying to combine them. If you’re new to Power Query, id suggest going through the Combine Files experience which does give you a step called “removed other columns” where you can select what columns to keep during the combination
Hello Miguel,
I tried to use excel (.xlsx) files instead of csv but after “Step 4: Invoking the Custom Function” instead of a clean table it shows me ascii characters and only one column.
Is it because of the “Step 3: Create a Custom Function”? in your code you use “Csv.Document” but I couldn’t find the equivalent of it for excel files.
regards
Hey! I’d recommend that you check out this post to learn more about functions:
https://www.thepoweruser.com/2019/02/26/parameters-and-functions-in-power-bi-power-query-combine-files/
Excel files are not as straightforward as flat files so you’ll require more than just the data source function (Excel.Workbook) to access the specific data or object that you’re arter
How would the rxread function work with text file with no headers and fixed width, or pipe delimited file?
Conceptually, the components showcased in this solution will not change. The specific component that you mention, the fxread function, can be customized to your specific needs. You just need to customize the function to however you need to process / prepare your data from your desired data source (files in this case) and the solution will still work.
How you prepare your file it’s where most of the magic happens, but it all depends on how your data looks and what you’re trying to achieve in terms of data preparation for your fxread function. I’d recommend that you check my other articles on how to create a custom function, but if you’re looking for a much easier experience then this other article showcases that easier experience:
https://www.thepoweruser.com/2019/04/16/combine-or-append-data-combining-flat-files/
How would the fxRead function change if you wanted to skip a row then promote headers?
Hey!
You can modify the custom function however you want in order to meet your specific data needs. The main concept of the article is that you create your own custom function, but use it in combination with the rest of the pattern where you use Binary.Buffer, List.Transform and Table.Combine to get the most optimal approach possible, which is quite important when you have multiple outputs from a single file, for example when an Excel workbook has multiple tables that need to be loaded as separate tables in your data model.
If you want to learn more about creating your own custom functions, I do have a couple of articles around those concepts:
https://www.thepoweruser.com/2019/02/12/parameters-and-functions-power-bi-power-query/
https://www.thepoweruser.com/2019/02/19/parameters-and-functions-in-power-bi-power-query-custom-functions/
https://www.thepoweruser.com/2019/02/26/parameters-and-functions-in-power-bi-power-query-combine-files/
https://www.thepoweruser.com/2019/03/05/parameter-tables-in-power-bi-power-query/
Hello Miguel. Your website is great. I have been trying to 1) add a new column with the date the file was last modified as a row to my tables 2) as well as clean up the data by transforming a sample file. I can do 1) or 2). I don’t know how to do both in the powerbi dataset. Lastly, when I try and link it to a table in powerbi it says I don’t have it in table format. Do I have to convert binary to table? Thanks from your nonpower expert, but trying her best to learn.
https://www.youtube.com/watch?v=GgwXt4LVmsU&t=624s
https://www.youtube.com/watch?v=RAmSdxt863s
Hey!
The pattern from this article isn’t really tailored to that specific use case, but you can do a much easier approach of using the Combine Files experience. That way you can focus on your sample transform file and then go back to your main “folders” query to the step where Power Query automatically removes the fields that you’re missing so you can remove it and keep all the fields that you need and remove them yourself if needed.
Hope this helps!
Hola Miguel, muchas gracias por compartir tus tips, he realizado para archivos excel y todo Ok, por favor apoyame en ver como preservo el nombre del archivo al momento de combinar. He realizado varias formas pero sin exito, en los primero pasos de la query esta el nombre del archivo…
Great article Miguel!! Thank You